 Verve45 Editorial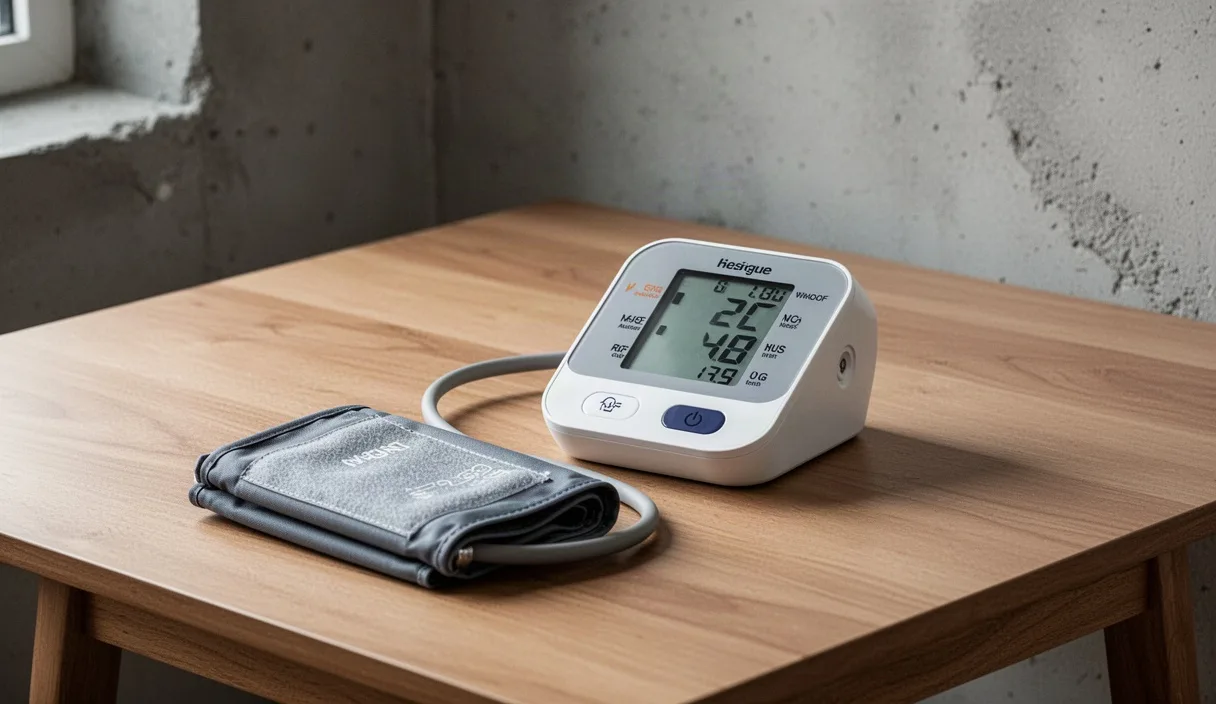
Blood pressure fluctuates throughout the day and night in response to sleep, movement, and biological clocks. The numbers you see at 7:00 AM are rarely the same numbers you see at 3:00 PM. Morning is the window when the cardiovascular system shifts from deep rest to daytime activity. Monitoring your pressure during this window provides your doctor with a baseline that is free from work stress, heavy meals, and afternoon fatigue.
An accurate home record requires strict technique. If you wrap the cuff over a sleeve, sit on a soft sofa, or take a single reading while talking, the data is invalid. This guide sets out the mechanical routine for taking your morning blood pressure at home. Follow these steps every day for seven days before a clinical consultation so your physician can evaluate genuine trends rather than user error.
Why morning blood pressure surges occur naturally upon waking
The human body operates on a circadian cycle. During sleep, blood pressure drops by 10 to 20 percent as metabolic demand decreases. Approximately two hours before you wake, your adrenal glands release daily balance and catecholamines into the bloodstream. These hormones constrict peripheral blood vessels and increase heart rate. This process is the morning surge. It prepares your body to stand up, walk, and begin daily work without fainting.
A natural surge is normal physiology. A surge that rises too high or happens too fast places extra strain on vessel walls and the heart muscle. Clinical studies associate an exaggerated morning rise with higher rates of stroke and heart attack during the early hours of the day. Because the surge happens early, clinic visits at 11:00 AM or 2:00 PM miss it completely. Home monitoring catches this specific window.
Certain daily factors can make this morning surge worse. A full bladder triggers the sympathetic nervous system, which adds 5 to 15 points to your systolic reading. Drinking coffee right after getting out of bed constricts arterial tissue. Taking your morning cardiovascular wellness medication before measuring hides your true baseline pressure. For these reasons, take your measurements immediately after emptying your bladder, before breakfast or caffeine, and before swallowing your morning prescription tablets.
Selecting the correct upper-arm cuff circumference for accuracy
An oscillometric monitor relies on an inflatable bladder inside the arm cuff. The bladder must encircle at least 80 percent of your arm circumference to compress the brachial artery evenly. If the bladder is too small for your arm, the machine must generate excess pressure to collapse the artery, producing a falsely high reading. If the bladder is too large, the machine under-inflates, producing a falsely low reading. A cuff that is one size too small can add up to 10 mmHg to your systolic score.
Measure your arm before you purchase or use a monitor. Stand straight and let your arm hang loose. Locate the midpoint of your upper arm, halfway between the bony tip of your shoulder and the point of your elbow. Wrap a cloth tape measure flat against the skin at this midpoint. Note the circumference in centimeters. Match that measurement to standard cuff specifications.
| Cuff Category | Arm Circumference Range | Bladder Dimensions | Common Use Profile |
|---|---|---|---|
| Small Adult | 17 cm to 22 cm | 9 cm by 16 cm | Lean upper arms, smaller adult frames |
| Standard Adult | 22 cm to 32 cm | 12 cm by 22 cm | Average adult arm build |
| Large Adult | 32 cm to 42 cm | 15 cm by 31 cm | Muscular or wider upper arms |
| Extra Large / Thigh | 42 cm to 50 cm | 18 cm by 36 cm | High upper-arm circumference |
Avoid wrist monitors unless an upper-arm cuff is impossible due to severe pain, lymphatic surgery, or extreme limb circumference. Wrist devices require the wrist to stay level with the heart chamber throughout the pump cycle. A drop of 10 centimeters below heart level increases the reported pressure by roughly 8 mmHg due to hydrostatic pressure. An upper-arm monitor removes this error margin because the cuff sits at chest height by design.
Proper posture: back support, arm height, and leg positioning
Posture directly changes blood volume distribution and vascular resistance. You cannot take an accurate reading while sitting on the edge of an unmade bed, lounging in a recliner, or perching on a kitchen stool. You need a straight-backed dining chair and a firm table or desk.
Body Alignment Rules
- Back support: Sit upright with your back flat against the chair backrest. Leaning forward or slouching engages abdominal and spinal muscles, which can raise your systolic value by 6 to 10 mmHg.
- Feet and legs: Place both feet flat on the bare floor or a footstool. Do not cross your legs at the knees or the ankles. Crossed legs increase venous return to the heart, which raises systolic pressure by 4 to 8 mmHg.
- Arm support: Rest your bare arm on the flat table surface. Do not hold your arm in the air with muscle tension. The midpoint of the cuff must rest level with your right atrium, which is roughly at mid-sternum height. If the table is low, place a hard, flat book under your forearm to raise the cuff to the level of your sternum.
- Cuff positioning: Slide the cuff onto your bare arm. Rolling up a tight shirt sleeve creates a tourniquet effect; remove the arm from the sleeve instead. Place the bottom edge of the cuff 2 to 3 centimeters above the elbow crease. The rubber tube must run down the center of your inner arm, aligning with your brachial pulse.
Once you are seated and the cuff is fitted, set a timer for five full minutes. Do not talk, read your phone, look at the television, or organize papers during this time. Sit still in silence. The five-minute rest period allows your heart rate to stabilize and permits vascular tone to settle after walking from the bedroom to the chair.
The two-reading protocol and why the first measurement is often discarded
Automatic digital monitors calculate blood pressure by sensing arterial wall vibrations as the bladder deflates. The initial inflation cycle is unfamiliar to the body. As the cuff tightens, the sensory surprise and muscular bracing cause a transient increase in blood pressure. This reaction is a mild, localized alarm reflex. Because of this reaction, the first reading of any session is frequently the highest reading of that session.
To produce dependable data, execute a two-reading sequence every morning:
- Press the start button on your monitor after your five minutes of quiet rest. Remain still and silent while the cuff inflates and deflates.
- Look at the monitor screen once the machine beeps. Note the systolic number, diastolic number, and pulse rate, but do not write them down as your final result. Keep the cuff on your arm.
- Wait between 60 and 120 seconds. During this break, your brachial artery re-opens fully, blood circulation clears, and your peripheral nervous system adapts to the compression.
- Press the start button a second time. Remain silent and still through the cycle.
- Read the screen. If the second systolic reading is within 5 mmHg of the first, the vascular response is stable. Calculate the average of the two readings, or record the second reading alone if your physician instructs you to do so.
If the first and second readings differ by more than 8 mmHg, wait an additional 60 seconds and run a third cycle. When three readings exist, discard the first reading entirely. Average the second and third readings together. That combined number represents your true morning vascular status. This protocol eliminates false spikes and gives your care team clean data.
How to log measurements clearly for your quarterly clinic review
Monitors with internal memory banks are convenient, but internal memories rarely tell the clinical story. Most monitors do not separate morning readings from afternoon readings, and they cannot record symptoms or missed doses. A paper log or a dedicated digital spreadsheet gives your doctor immediate visibility during an appointment that lasts only 15 minutes.
Create a grid with six specific columns: Date, Time, Systolic reading, Diastolic reading, Heart rate, and Notes. Fill in the log immediately after taking the measurements. Relying on memory at the end of the day leads to missing data points.
| Date | Time | Systolic (mmHg) | Diastolic (mmHg) | Pulse (BPM) | Notes |
|---|---|---|---|---|---|
| Oct 12 | 06:45 AM | 132 | 84 | 68 | Woke up naturally, no caffeine |
| Oct 13 | 07:05 AM | 138 | 88 | 74 | Poor sleep, 4 hours rest |
| Oct 14 | 06:50 AM | 128 | 82 | 66 | Normal routine, emptied bladder |
| Oct 15 | 07:15 AM | 130 | 84 | 65 | Slight headache on waking |
Bring the physical log and your home blood pressure machine to every routine medical review. Bringing your machine allows your doctor or nurse to test your device against a manual clinic sphygmomanometer. If your machine reads 130 mmHg while the clinic mercury or calibrated aneroid unit reads 130 mmHg, both you and your provider can trust the home record. If there is a difference greater than 5 mmHg, the home monitor requires replacement or recalibration.
Calculate your seven-day averages before you arrive at your appointment. Sum the systolic numbers from days two through seven and divide by six. Do the same for the diastolic numbers. Clinicians routinely disregard the first day of home records while patients settle into the routine. Having your six-day average ready saves consultation time and allows the doctor to focus on therapy decisions.
Common mistakes
Small deviations in habit produce large errors on the monitor screen. Watch for these mechanical faults:
- Talking during inflation: Speaking or listening actively can add 5 to 10 mmHg to the reading. Keep the room quiet until the cuff deflates completely.
- Pushing the cuff over clothing: A thin shirt sleeve might seem harmless, but fabric bunches up inside the bladder chamber. This creates uneven pressure gradients across the artery. Always place the cuff directly against bare skin.
- Rushing out of bed to the machine: Walking briskly down the hall to find your monitor elevates cardiac output. Place the chair, table, and monitor in your bedroom or right outside your bathroom so you can sit down immediately after urination.
- Using caffeine or nicotine before the test: Both compounds stimulate vasoconstriction. A cup of black coffee or a cigarette within 30 minutes of measurement can raise systolic pressure by 10 to 15 mmHg.
- Checking only when feeling ill: Measuring your pressure only during periods of panic, headache, or dizziness skews your log toward elevated outliers. The morning protocol requires measurement on calm, routine days to establish your true baseline.
Practical next steps
If you have not been tracking your blood pressure, start by taking your arm circumference measurement today. Use a flexible tape to measure your upper arm, verify your cuff size, and purchase an arm-cuff monitor that has undergone clinical validation by an independent testing body.
Set a seven-day observation window before your next doctor visit. Measure your blood pressure every morning across these seven days using the two-reading protocol. Record every pair of values in your log, calculate the averages for days two through seven, and pack both the log and your monitor in your bag for your clinic visit.
Do not change, stop, or increase your blood pressure medications based on home numbers without clinical supervision. If you obtain an isolated morning reading above 180 mmHg systolic or above 120 mmHg diastolic, rest quietly for five minutes and take a second reading. If the numbers remain at or above that level, consult your physician or seek urgent medical evaluation promptly, especially if you also experience chest discomfort, shortness of breath, back pain, weakness, or vision changes.